Looking at a house during an open inspection can be a difficult time for most people. What looks wrong or not quite right may be legal or possibly it is not.
Real estate agents should be honest in their dealings. It is illegal for real estate agents to mislead consumers, regardless of whether this is deliberate or not. Real estate agents must give consumers truthful and complete information relevant to a property, including its features, location, zoning, history, the characteristics or use that can be made of the land, and the property’s price.
What is the 7 year rule?
This regulation is based on Planning and Development Act 2000 Section 157(4), which essentially says that seven years after the development started, local governments cannot serve enforcement notices for an unauthorized development.
Do you always require council approval?
Council approval is typically required for most external renovations, extensions, or building work, but not for internal renovations that do not involve structural changes. Depending on your council, even apparently minor projects like a new fence or deck may occasionally require approval. Significant extensions, any project involving significant excavation or filling, and new freestanding buildings such as studios or granny flats are among the projects that almost always require council approval.
I have changed what I wanted done slightly, does this matter to the council approval?
It can be challenging to comprehend every requirement of "The Building Act" and building planning permits. Builders frequently wonder if they need to obtain additional approval for minor modifications or variations to their initial building permit. This can be an issue that the council should be involved with and not just done by the builder to please you without notification to the council.
Some alterations are fine without council notification, what can I do legally myself?
Replacing damaged or sunken paving, creating new pathways, or installing new garden surfaces around the dwelling, replacing or removing fences, but note that some fences must be built to certain heights or are required by your council. It is always wise to call the council for advice prior to bidding or making an offer
Interior floor coverings and flooring replacements do not require council approval. Erecting a new or similar-looking structure to replace a deteriorating one, such as a pergola or verandah, if the primary goal is to provide shade. The replacement structure must be built like-for-like and structurally identical, with no alterations to the timber or structure size allowable.
You should always discuss with the agent any issues you have about the property and ask for clarification from the vendor prior to bidding at an auction.
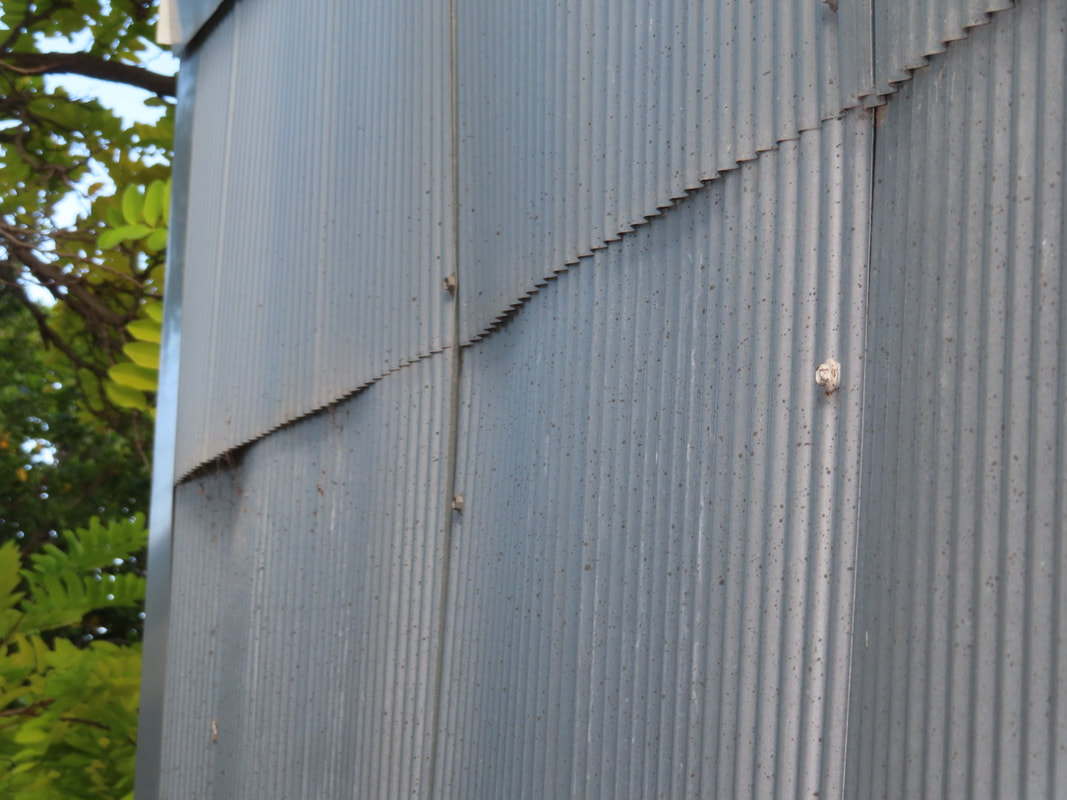
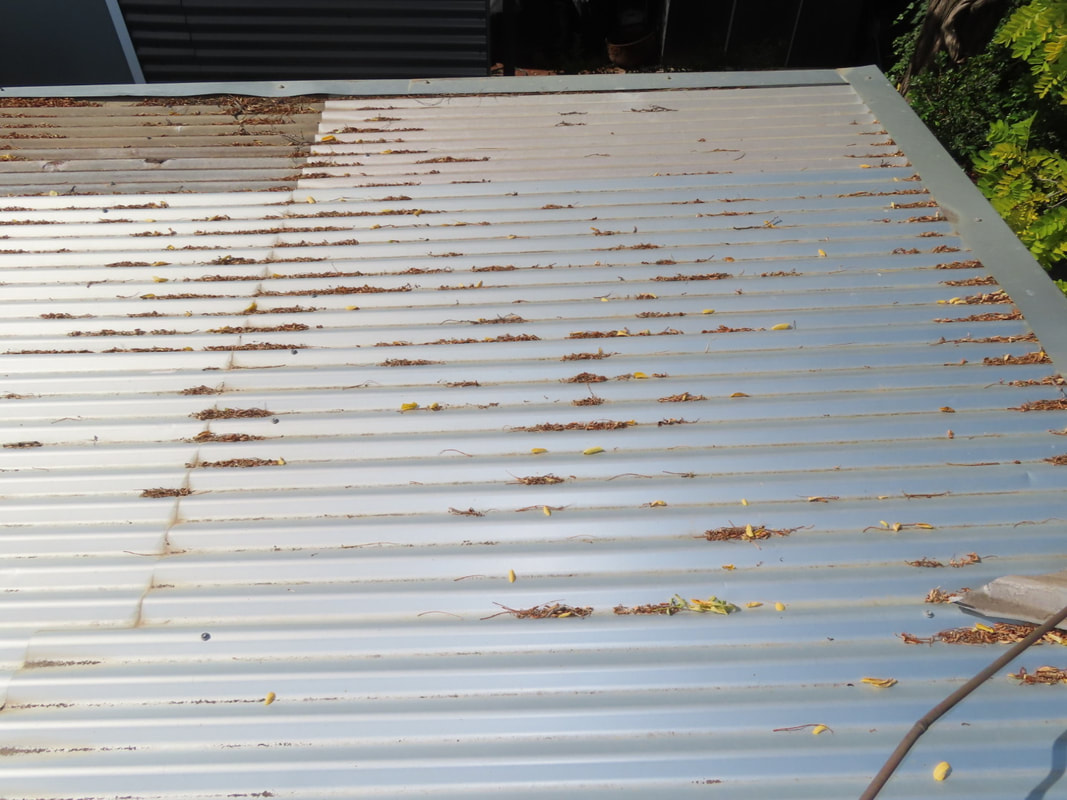
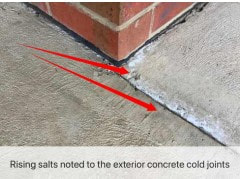
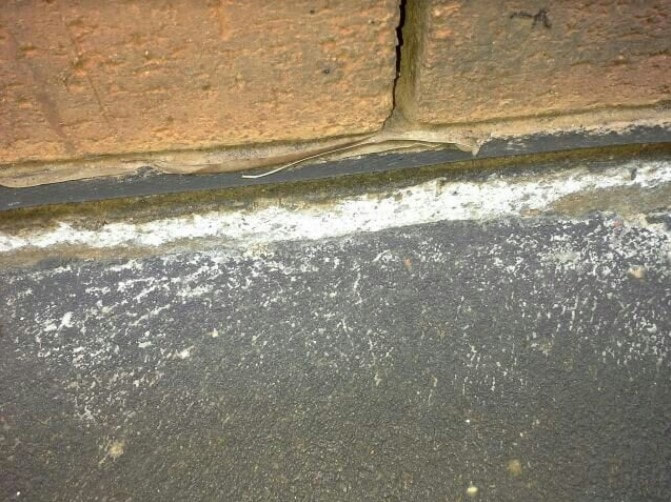
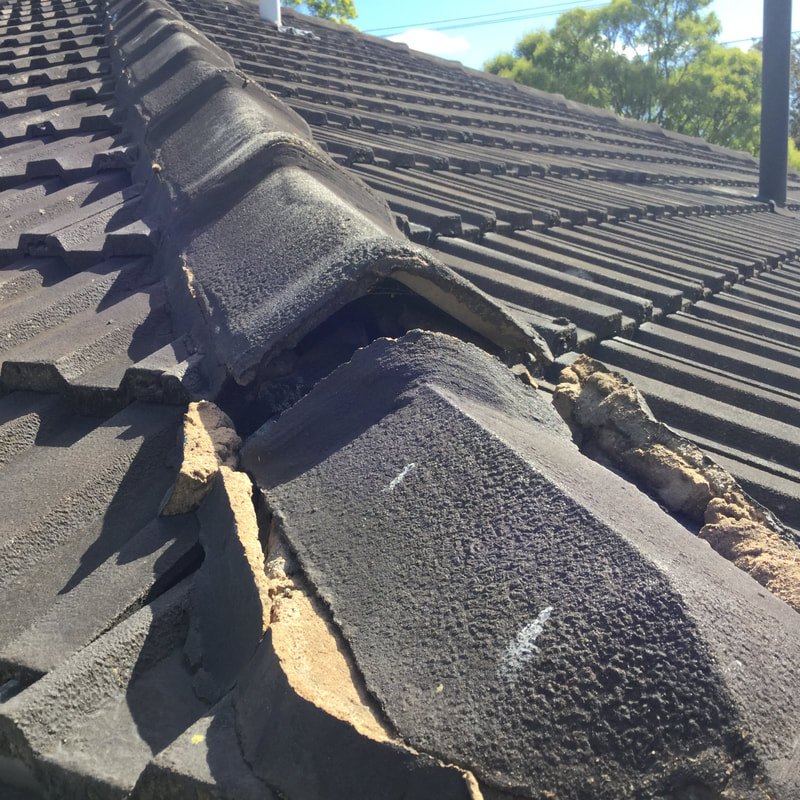
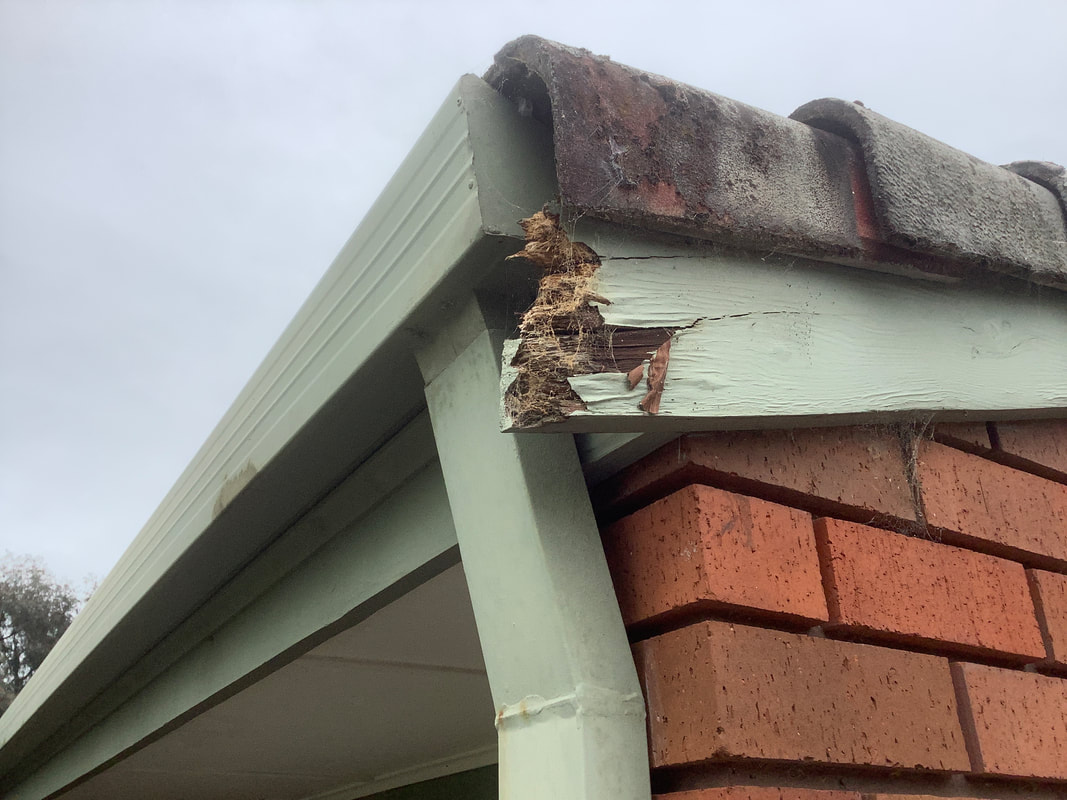
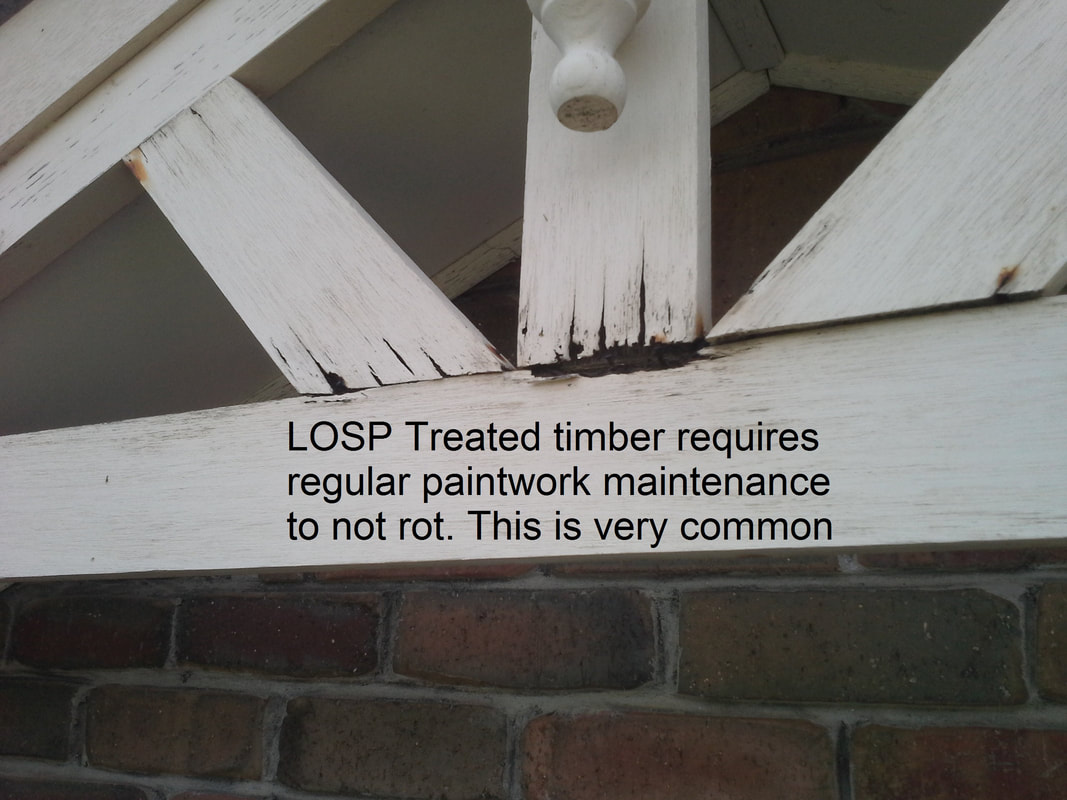
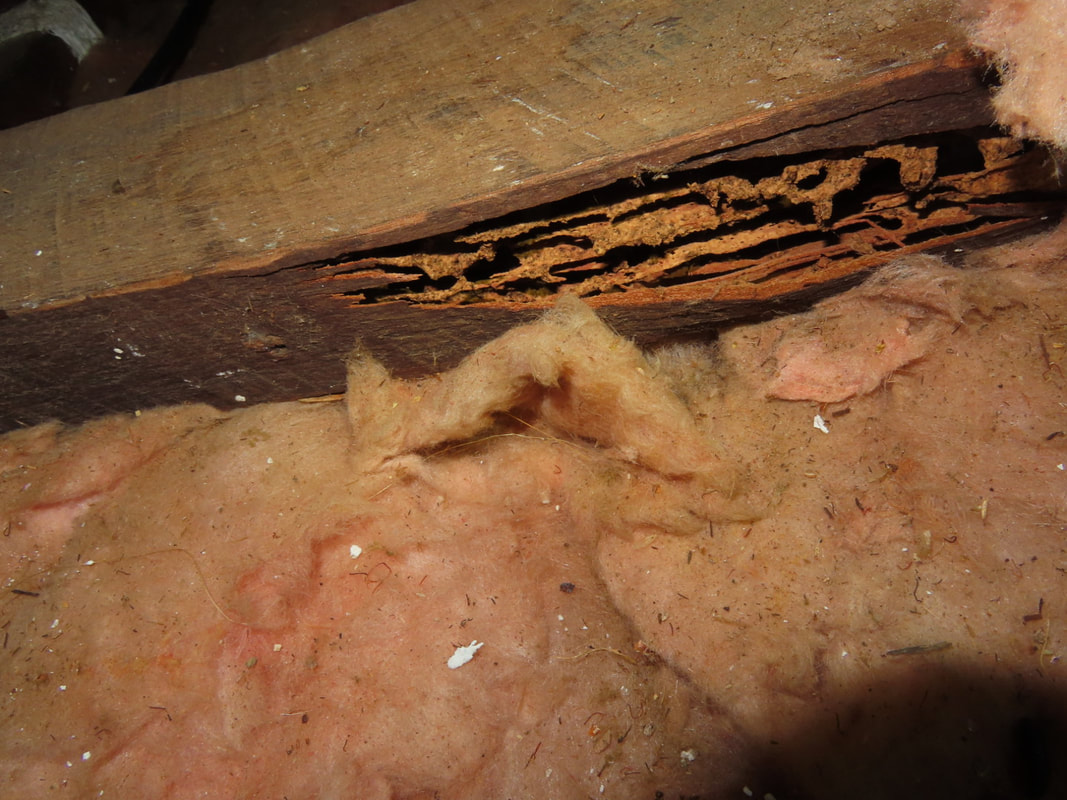
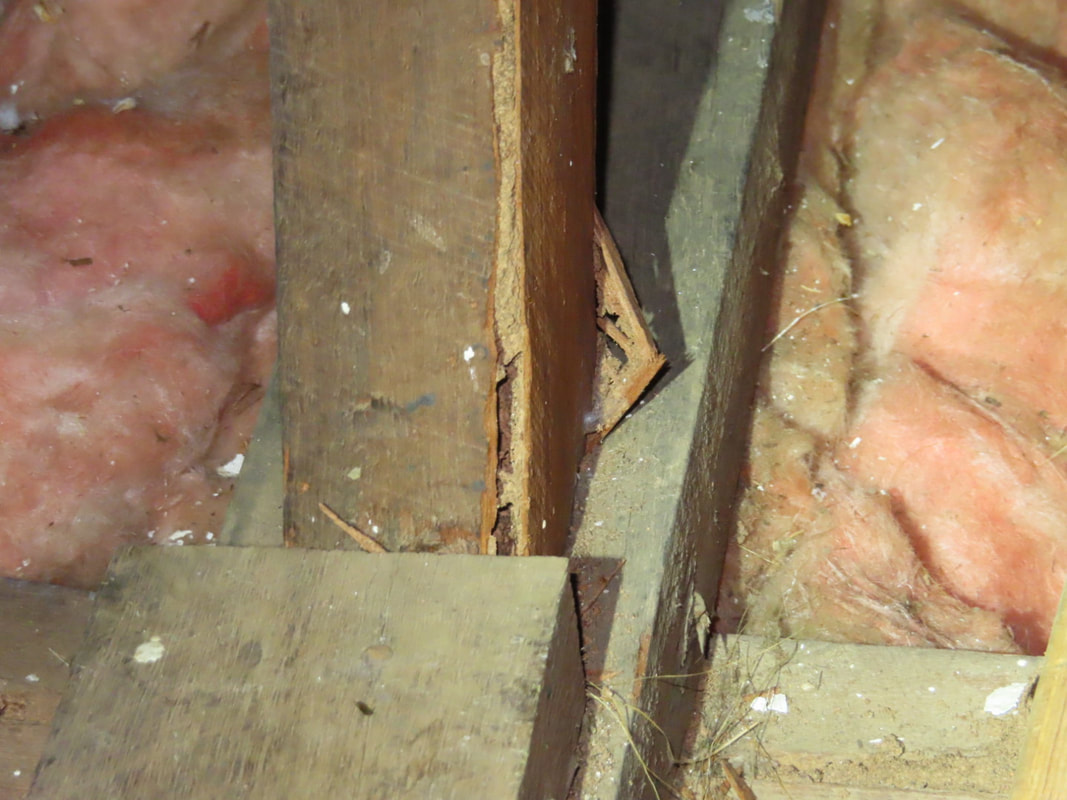
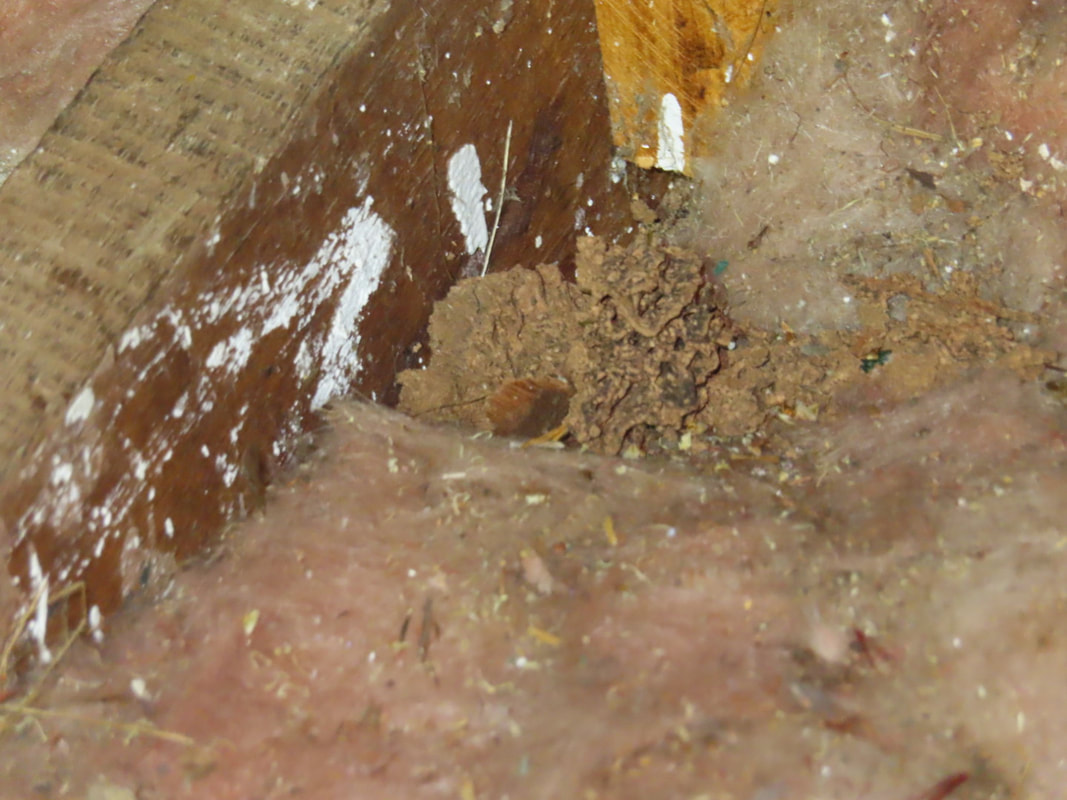
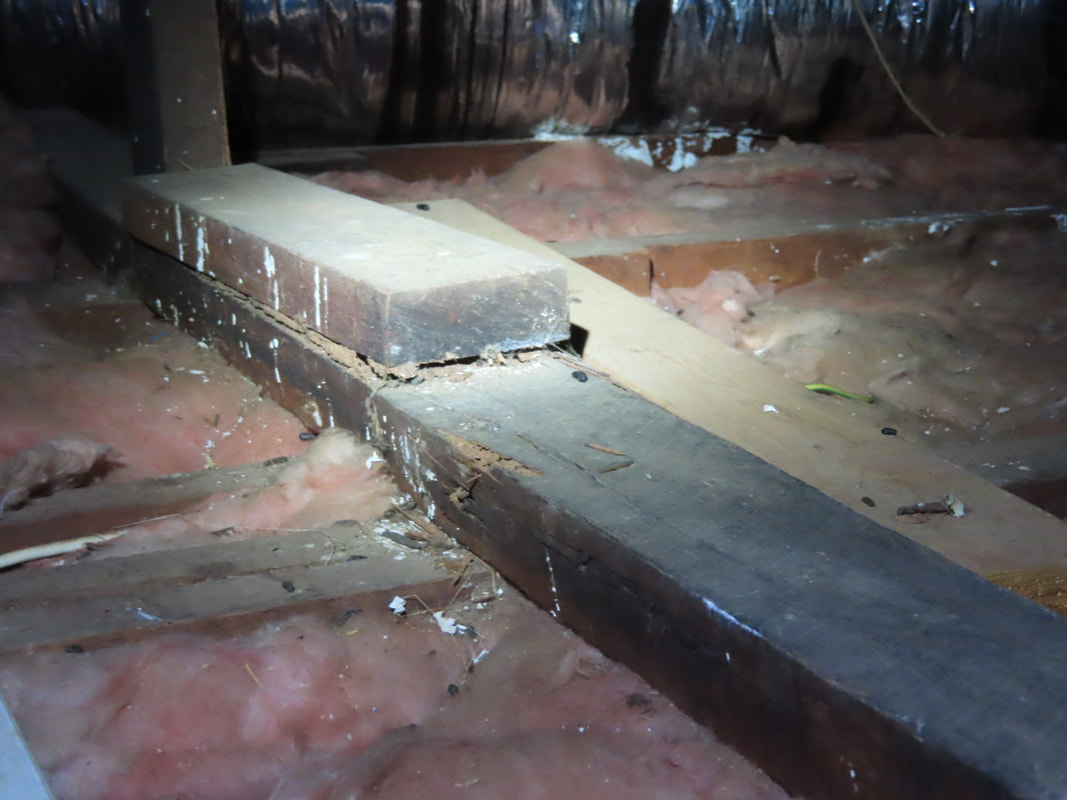
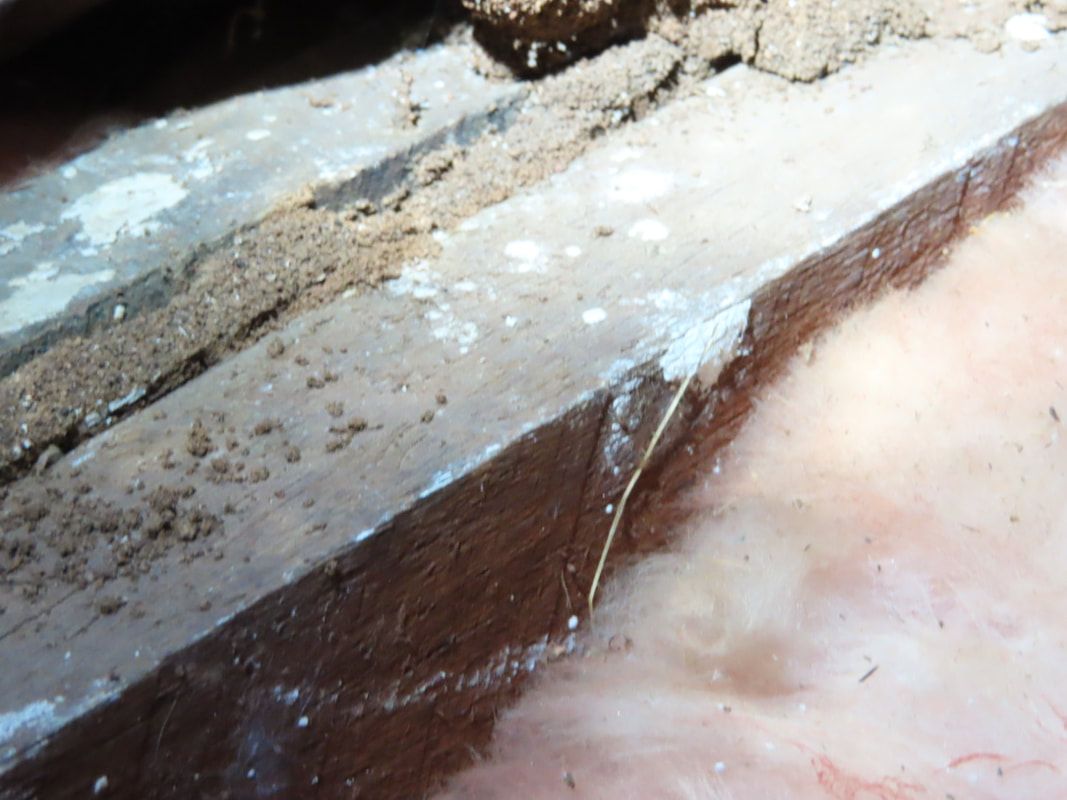
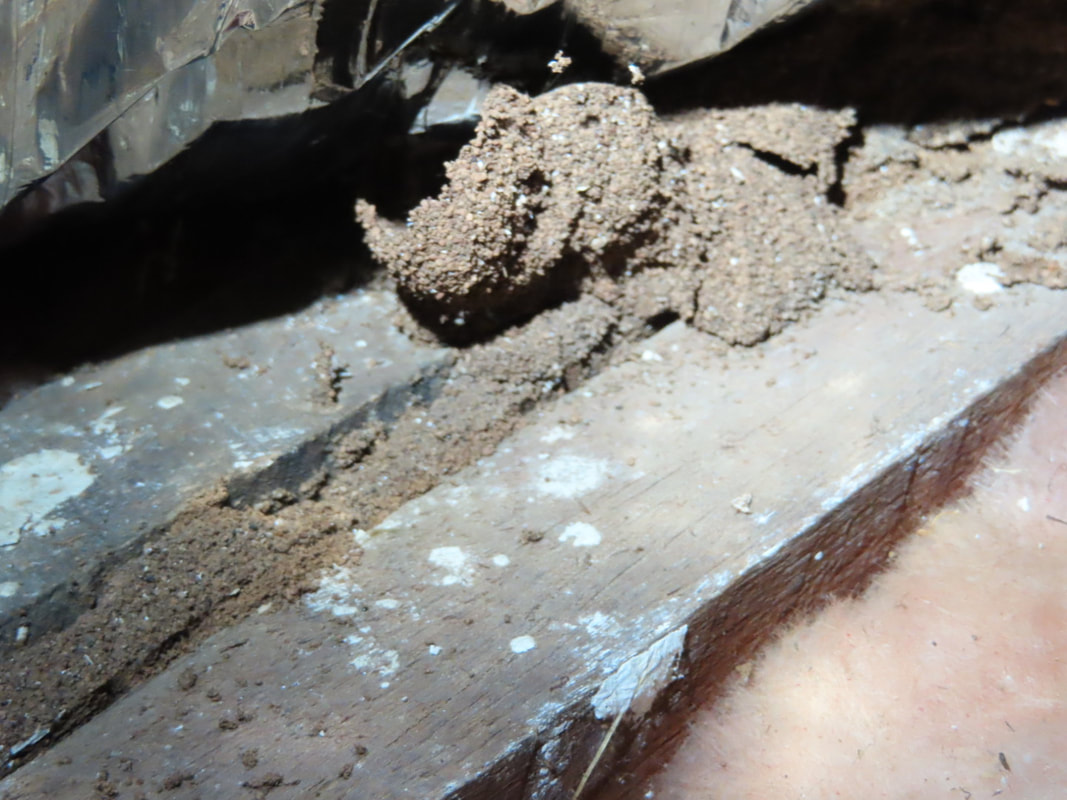
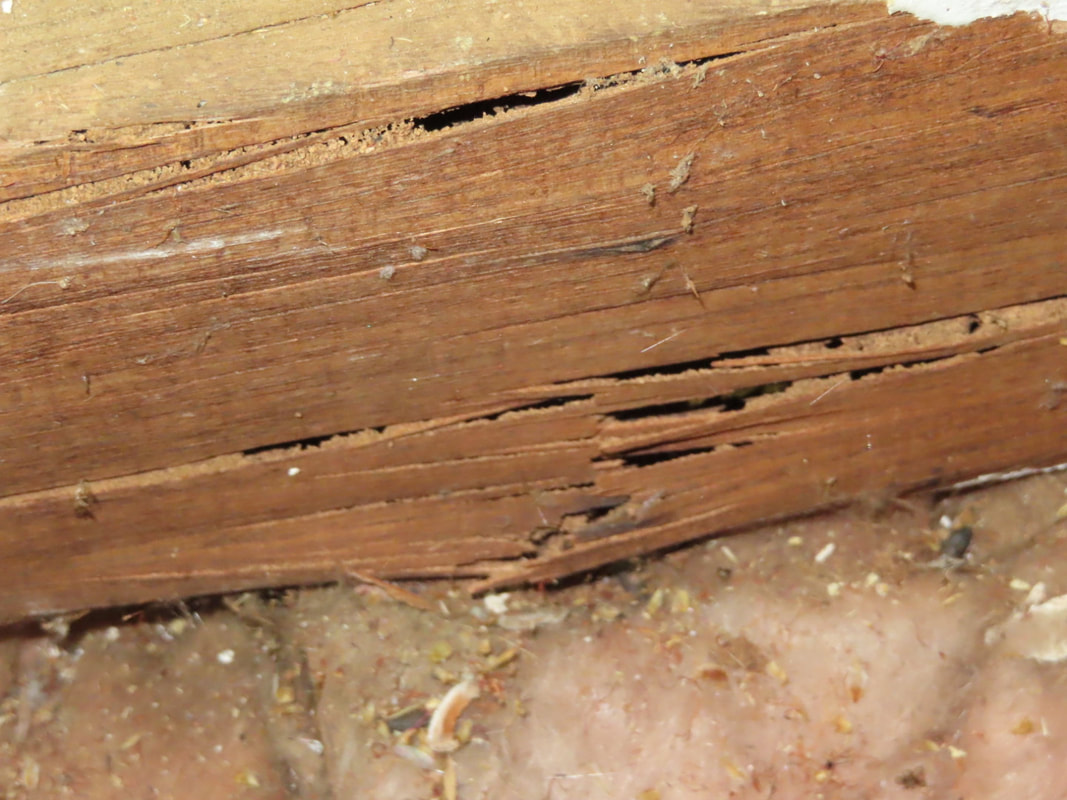
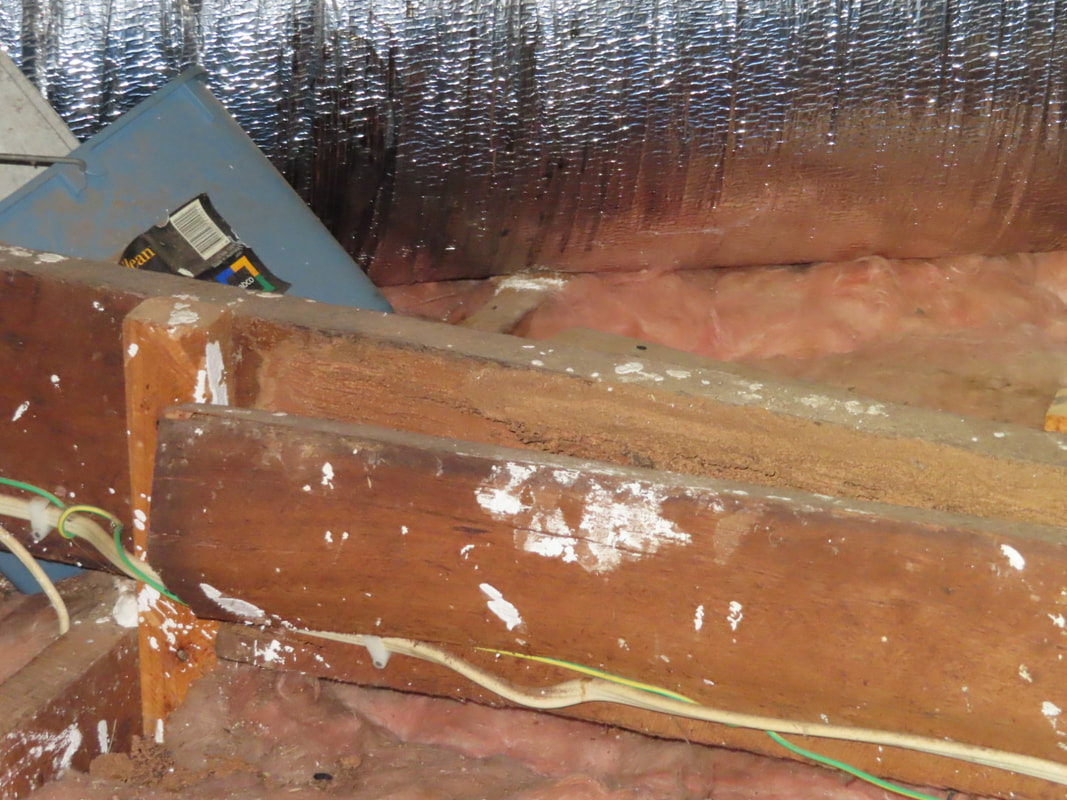
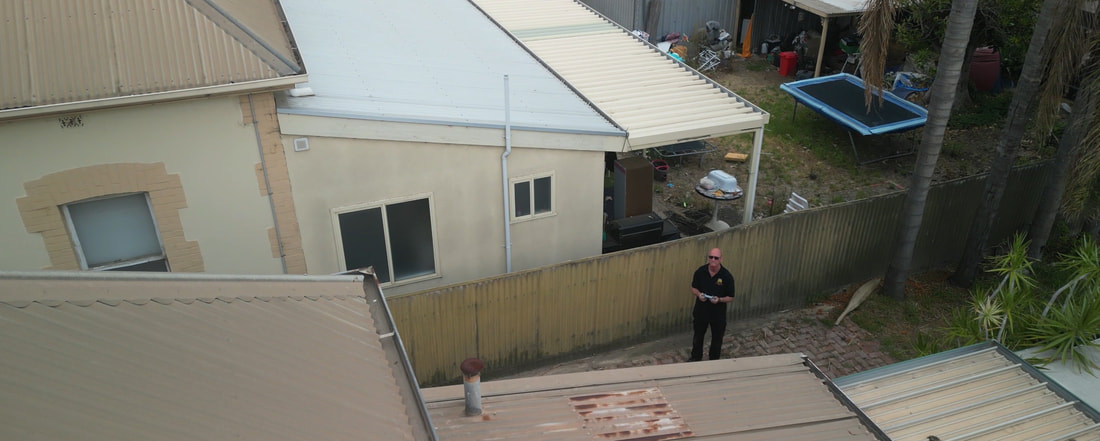
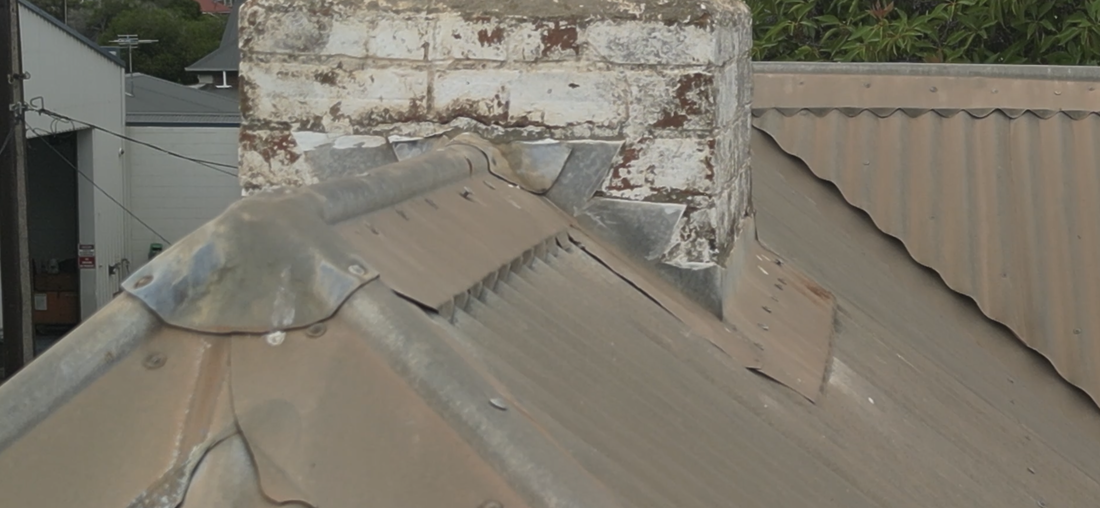
Some structures are just so poorly constructed that they would not be able to get retrospective approval from a council. These structures are often carports, verandahs, or garage areas that have been converted into rooms. These often do not have adequate concrete footing set downs, as they are built on top of existing exterior paths. Are not adequately water-proof and do not have the legal requirements, such as ventilation and light, to enable the area to be a habitable room. I often see the exterior walling poorly fastened and inadequately flashed, enabling moisture issues, such as rot and termites, to occur. The roofing was inadequately fastened with little or no fall and the roof sheeting was joined mid-span span allowing moisture ingress, promoting mould growth within the ceiling area.
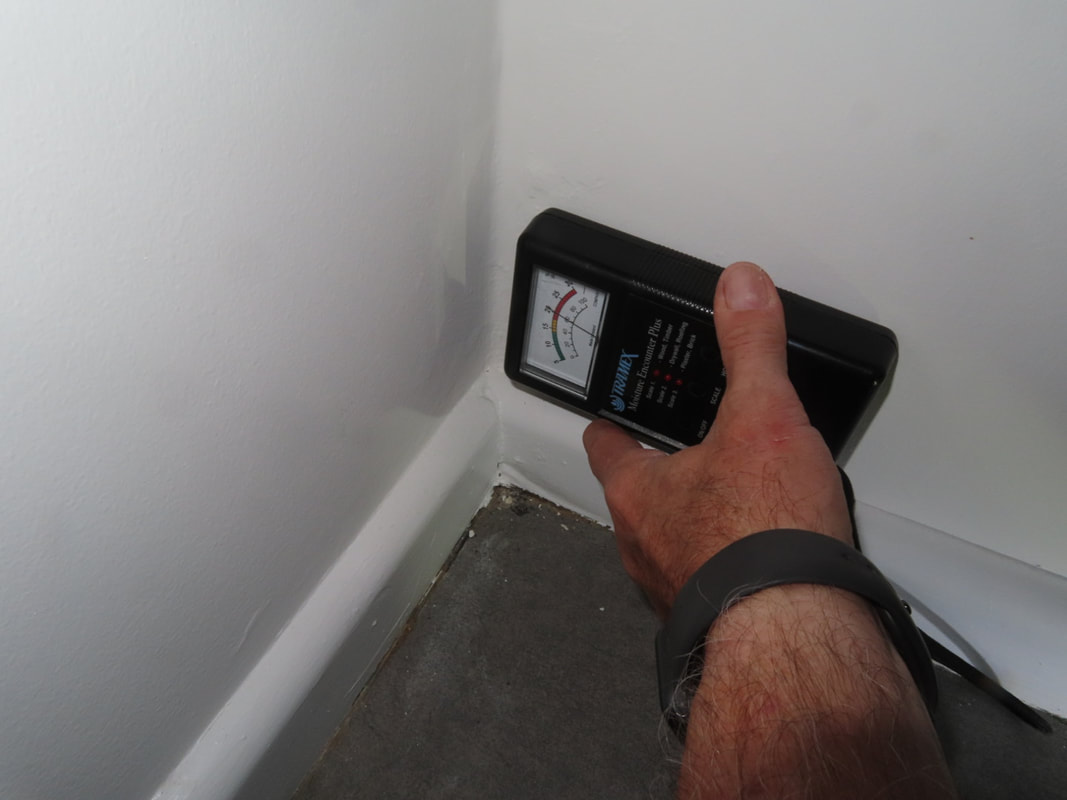
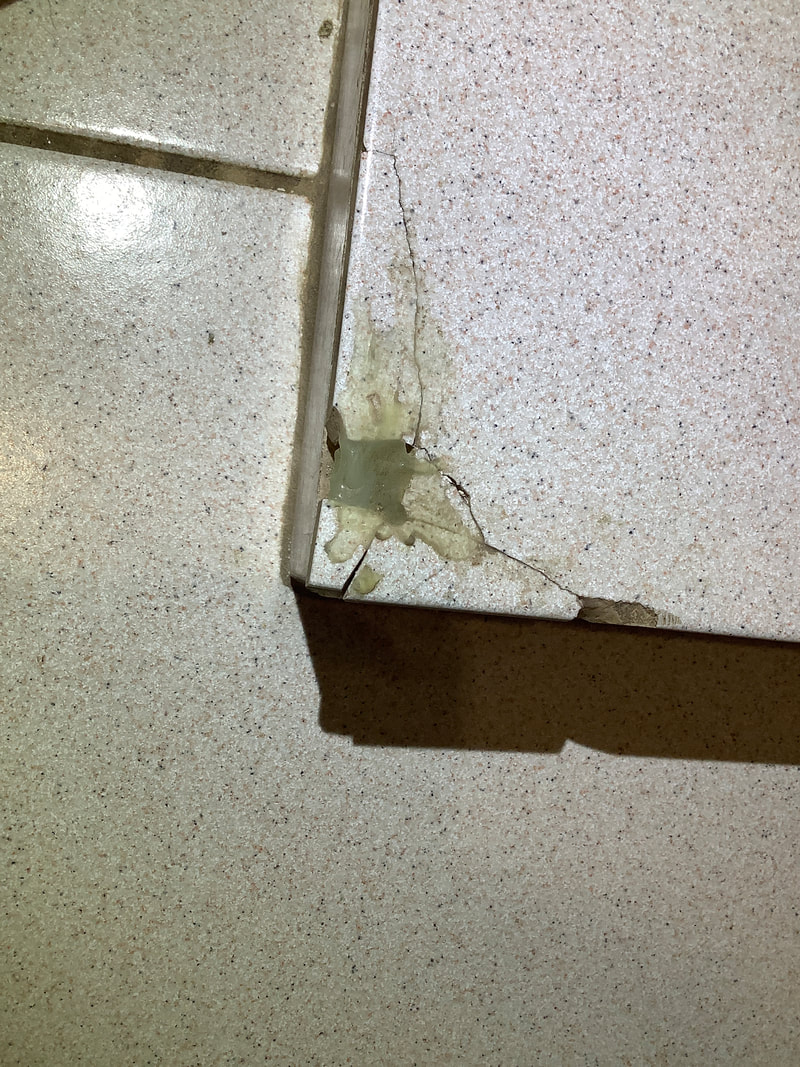
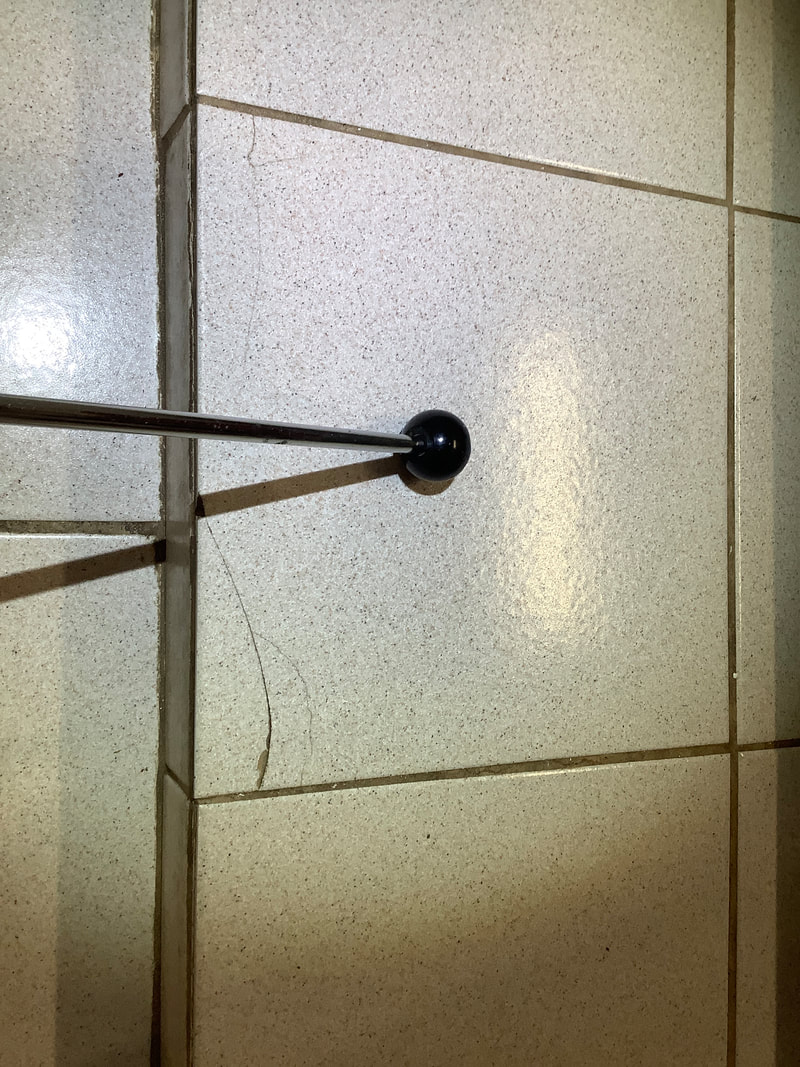
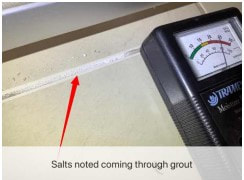
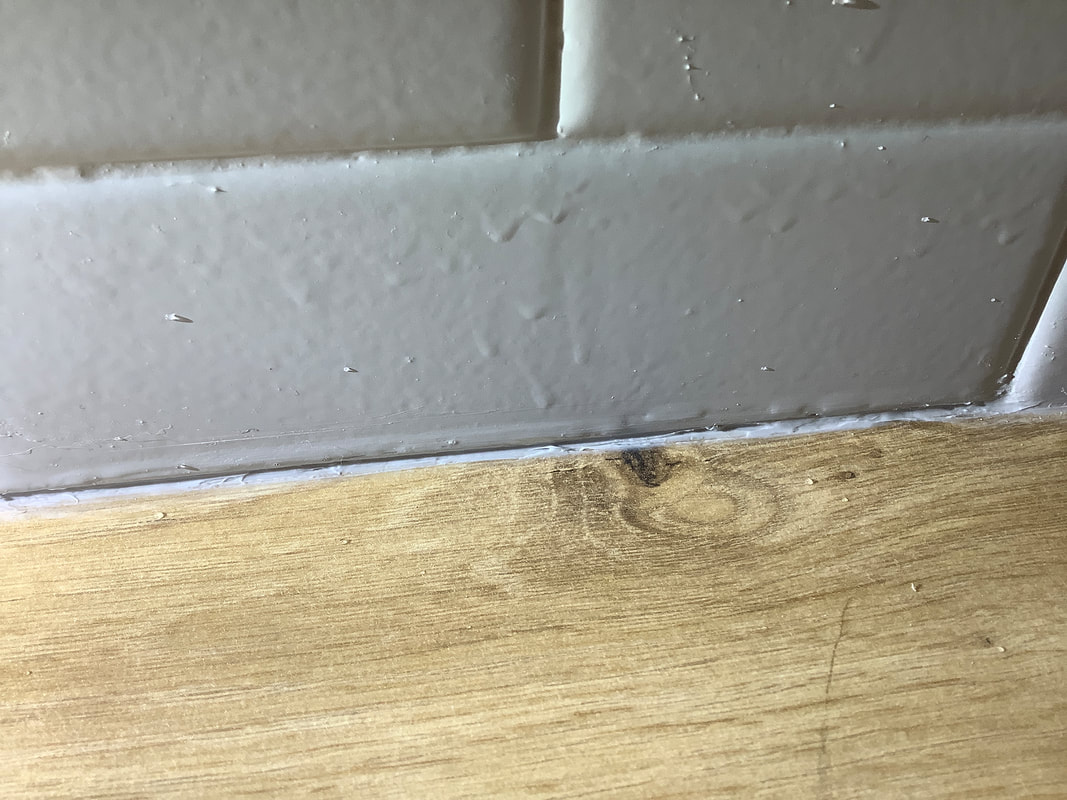
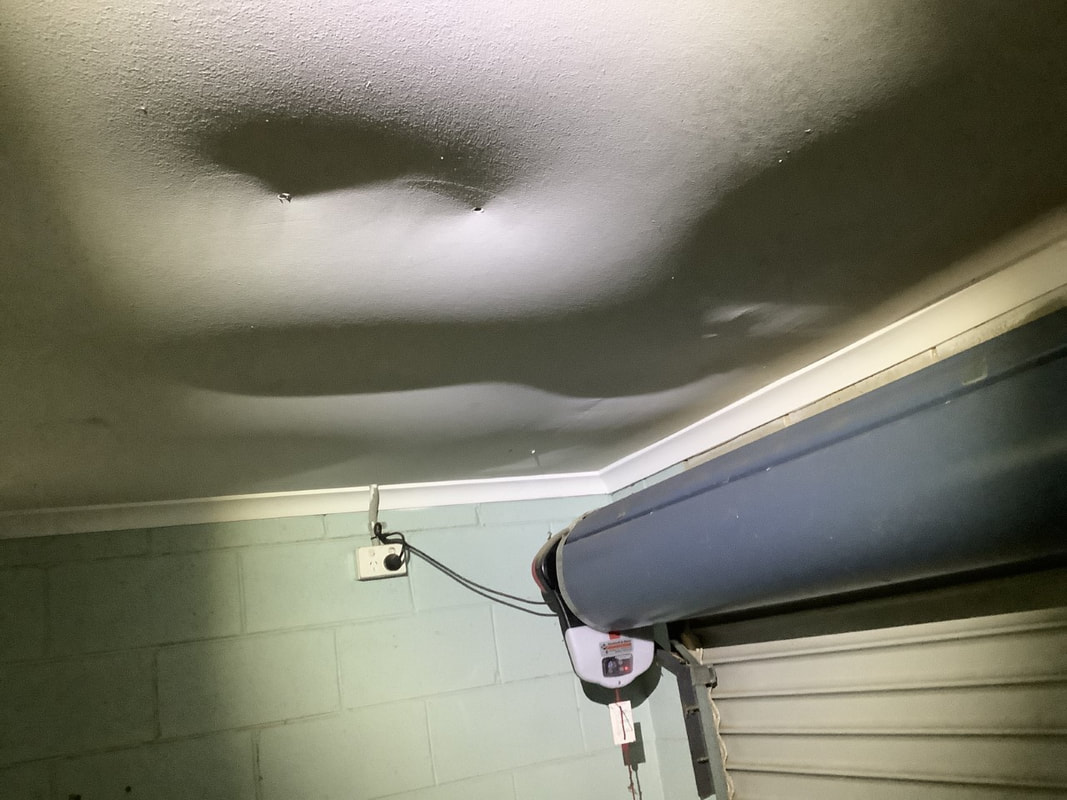
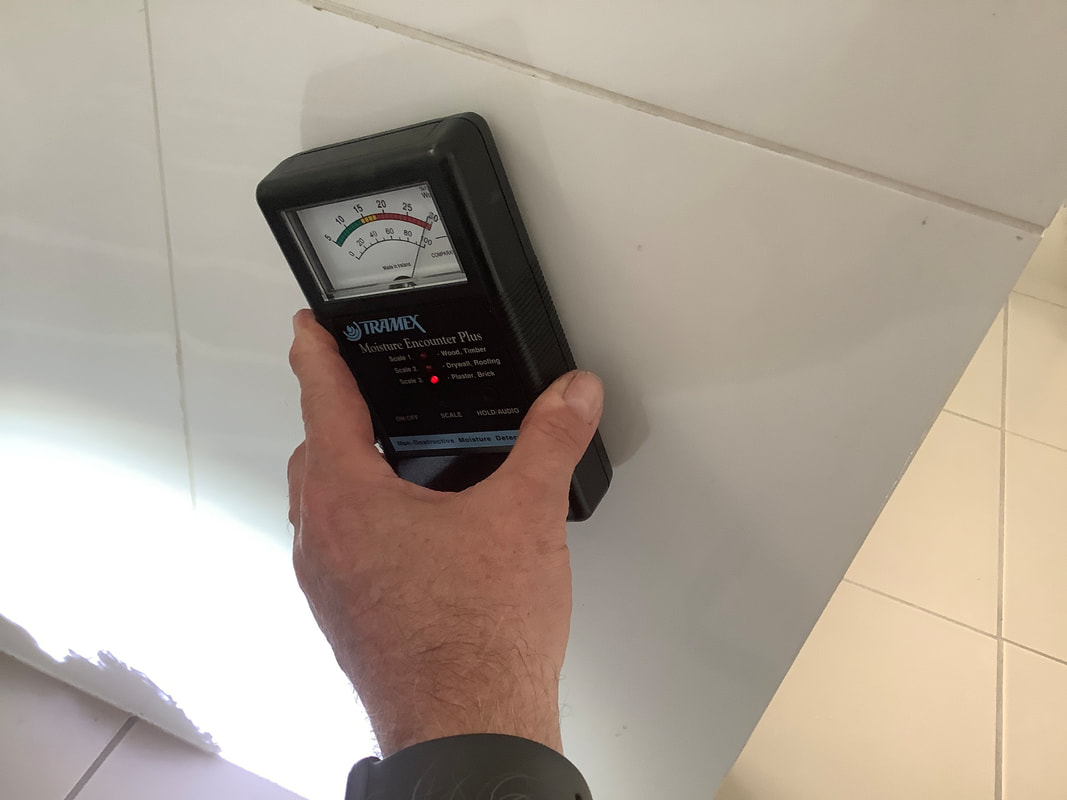
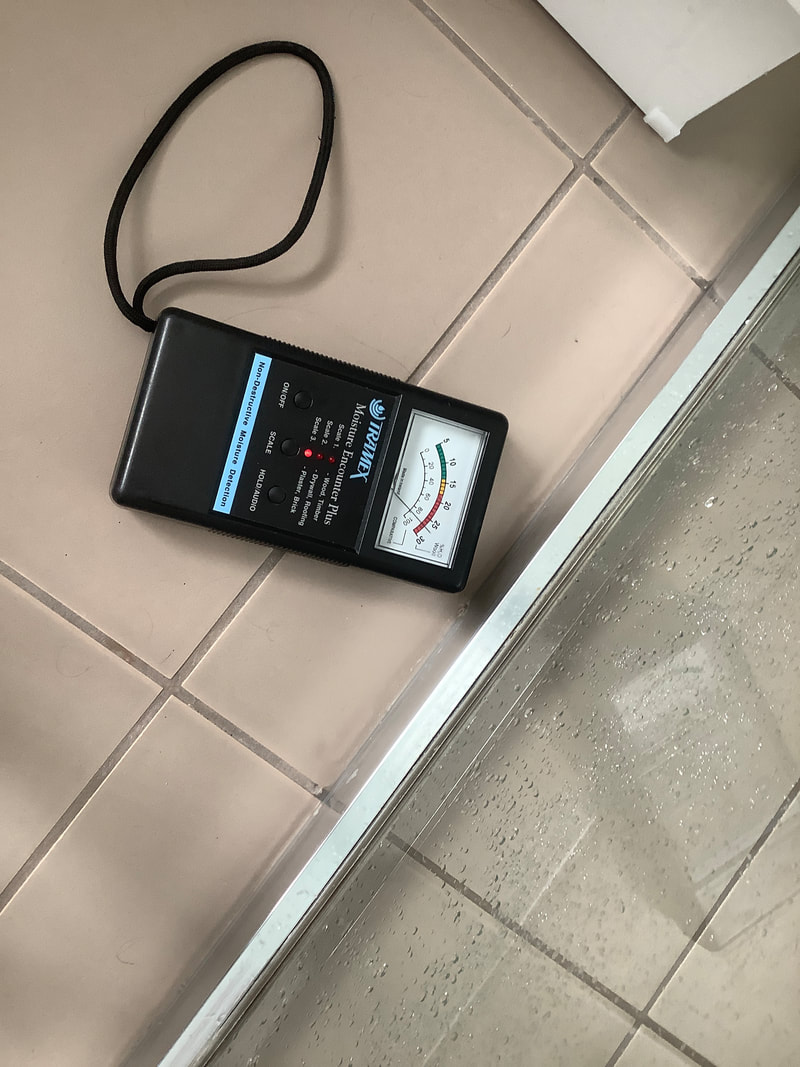
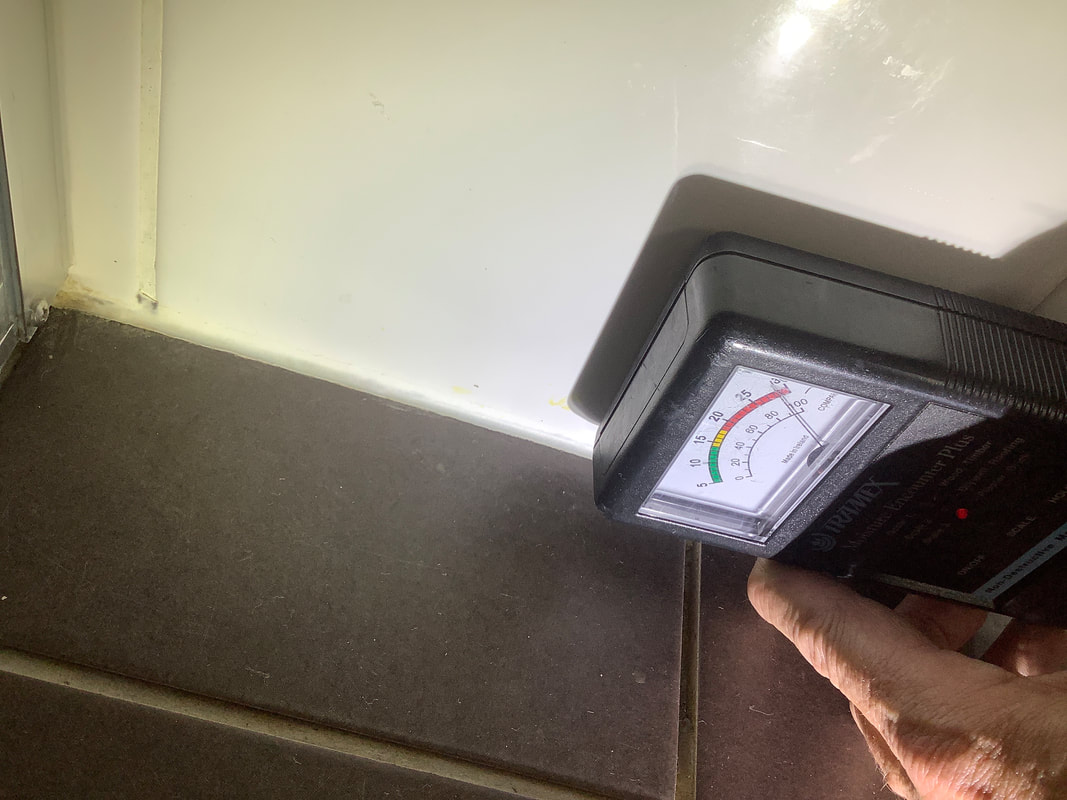
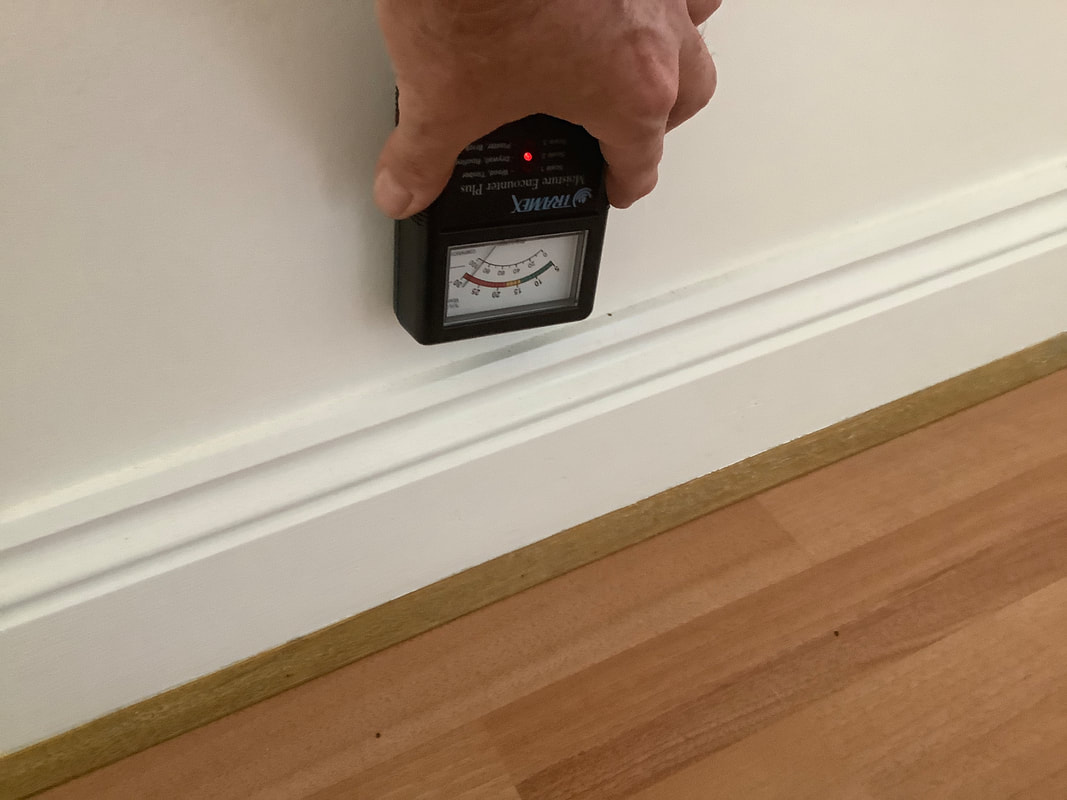
These rooms can often have cracked floor tiles and a musky smell when you first enter the room. If it has just been painted, you will only smell the paint. This is why I use a thermal camera and a moisture meter at a building inspection
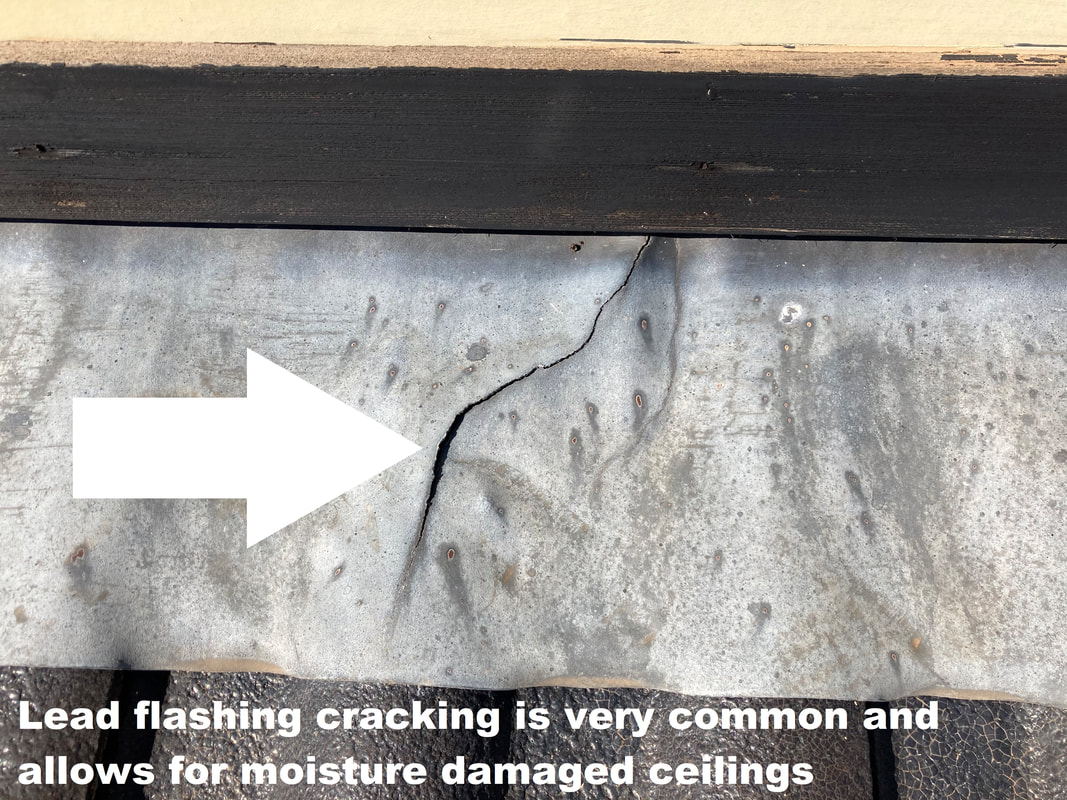
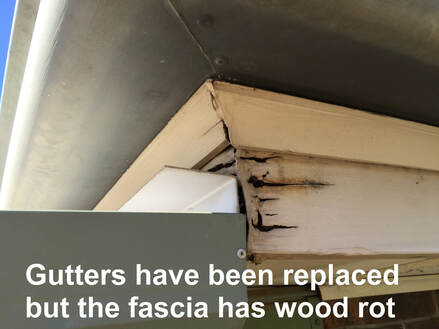
A building inspector will check for damp issues and check the roof sheeting areas for leaking issues. These are the expensive issues to have fixed.
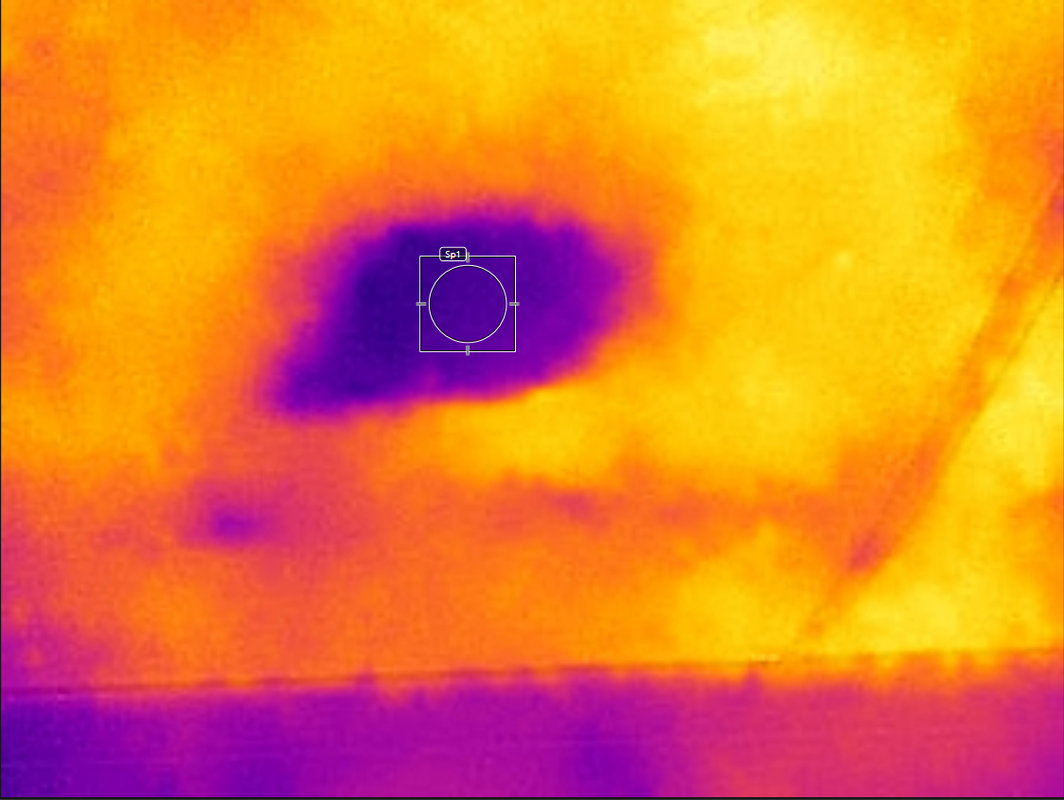
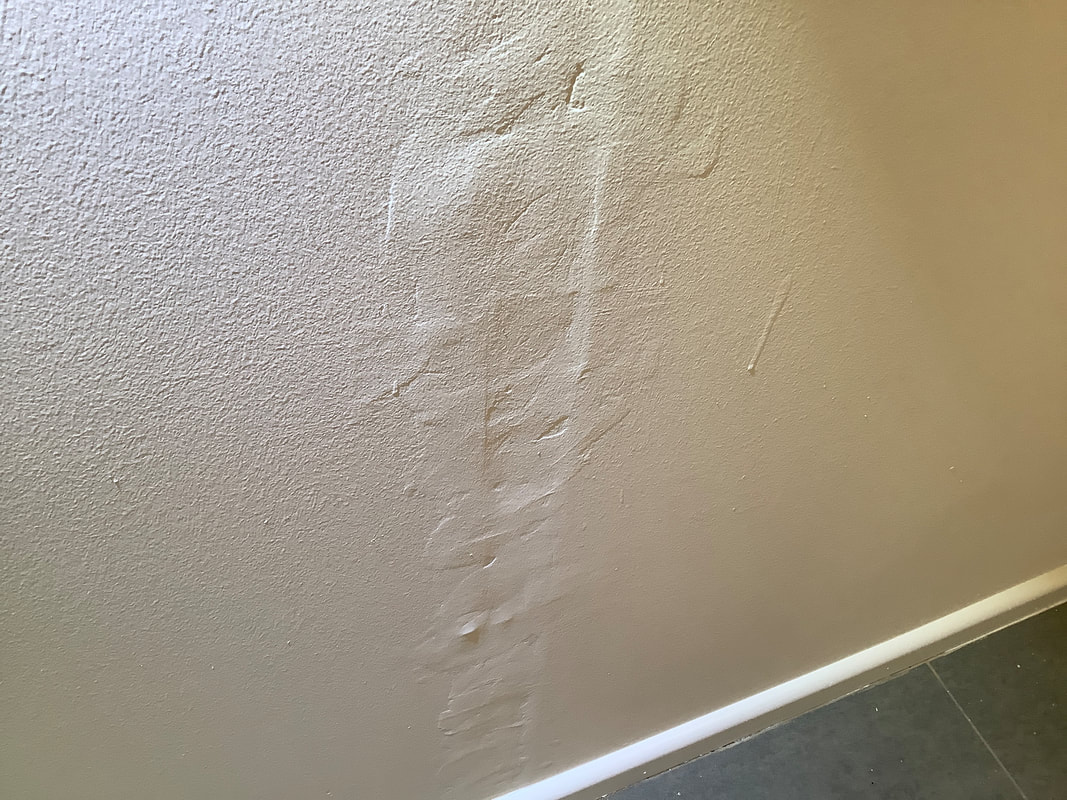
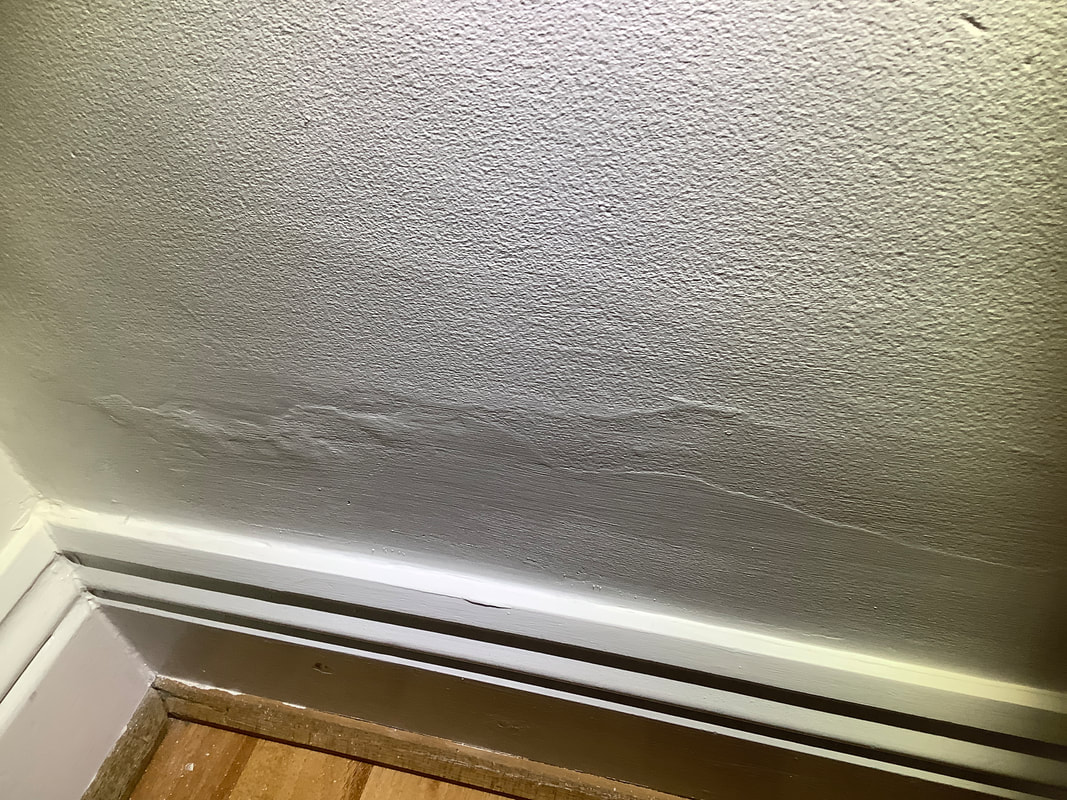
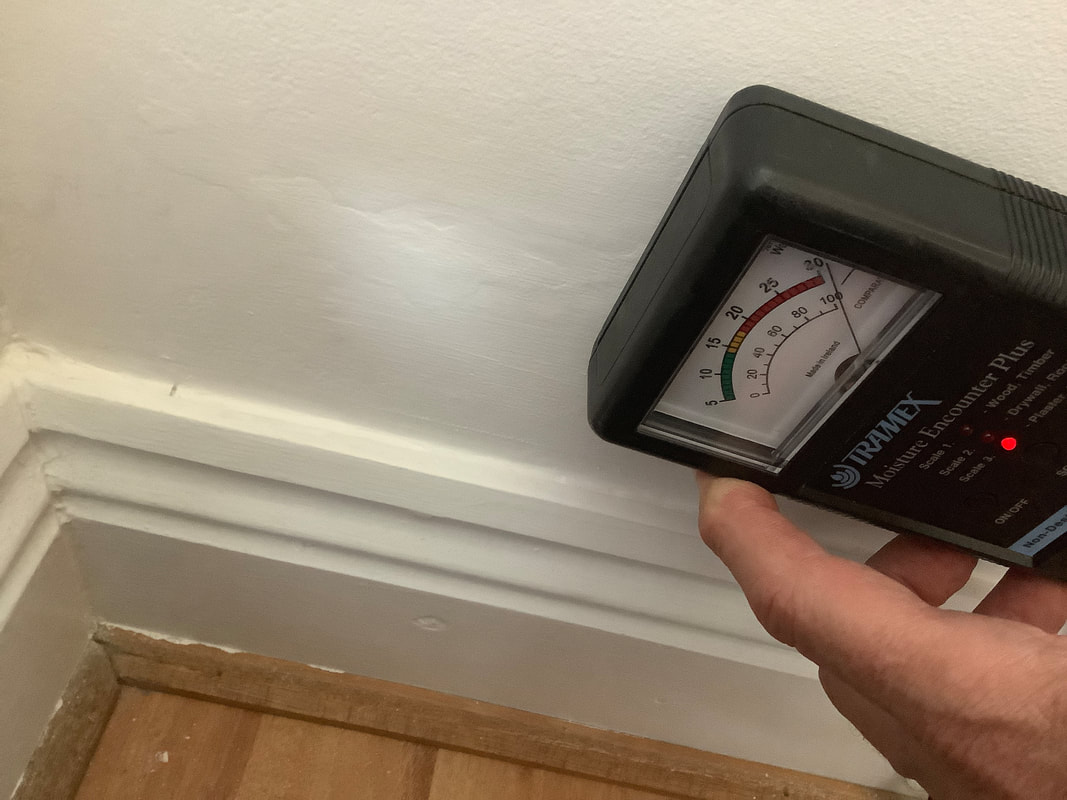
The purple colouring on the thermal image below shows the location of the moisture but this was not visible to the eye on a freshly painted ceiling.
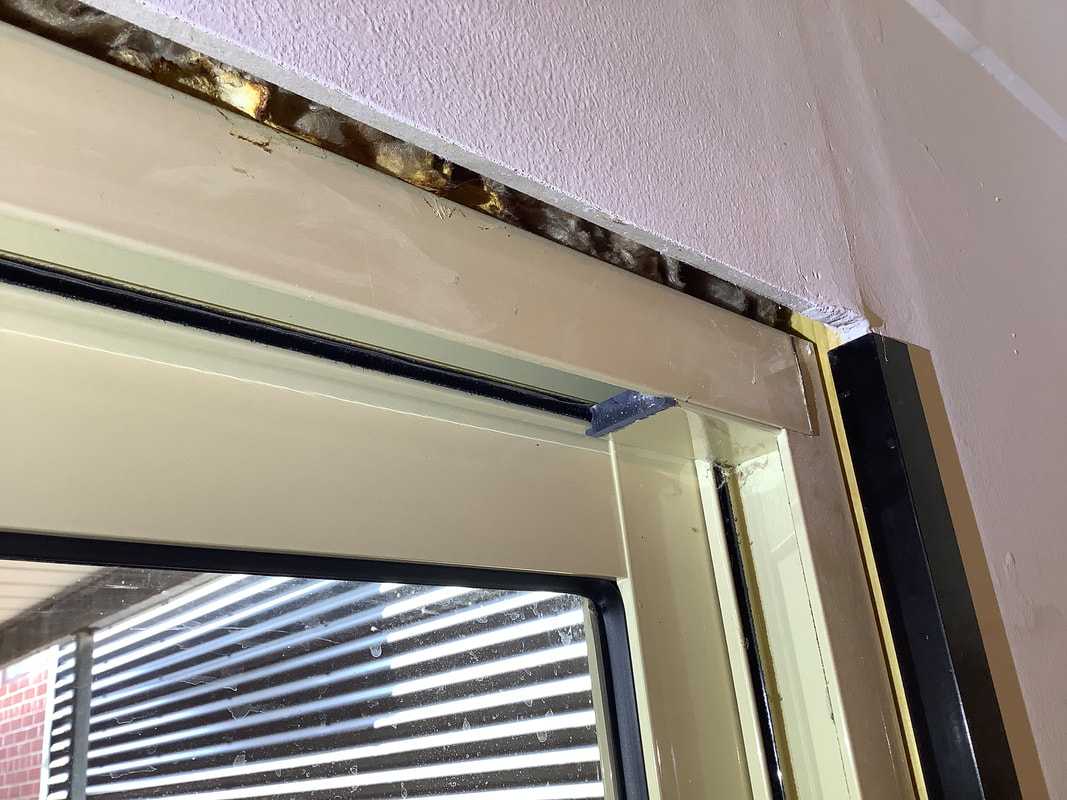
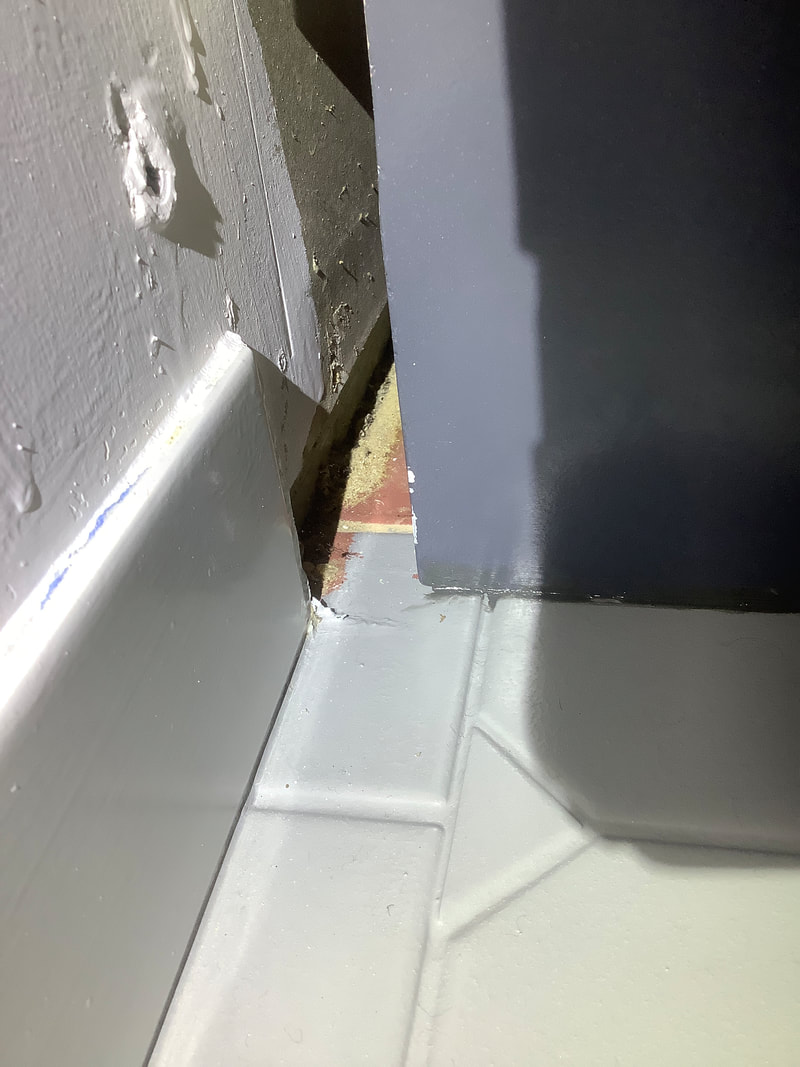
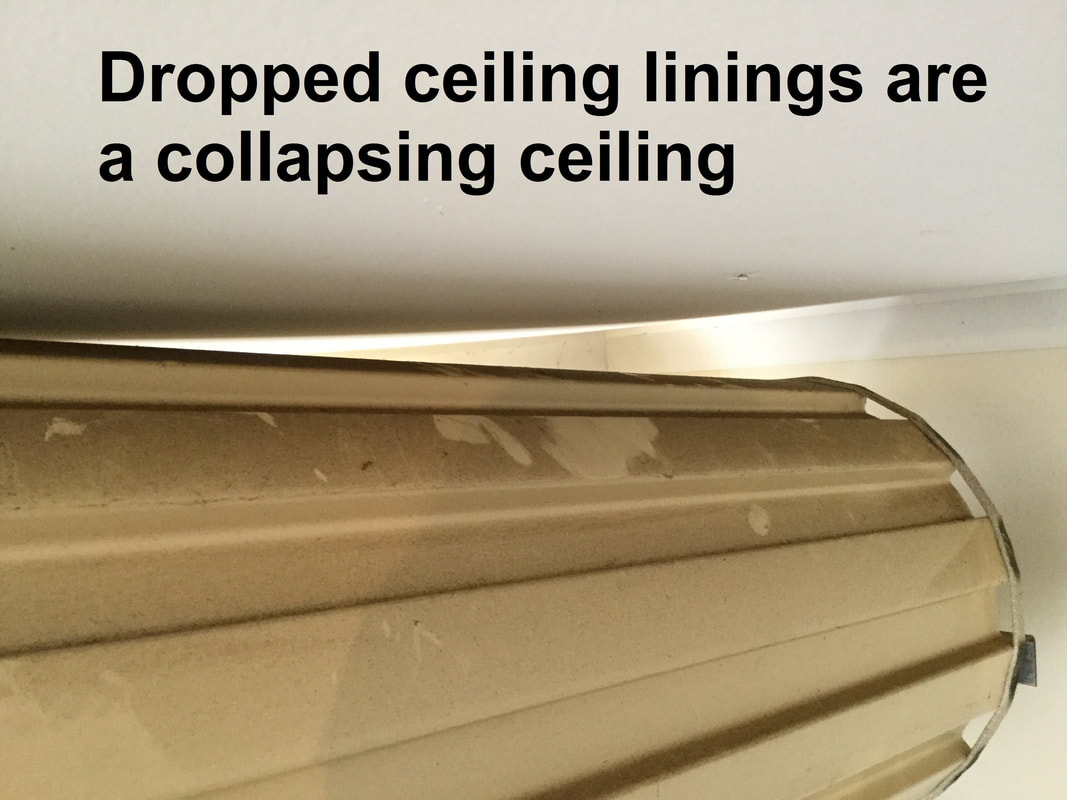
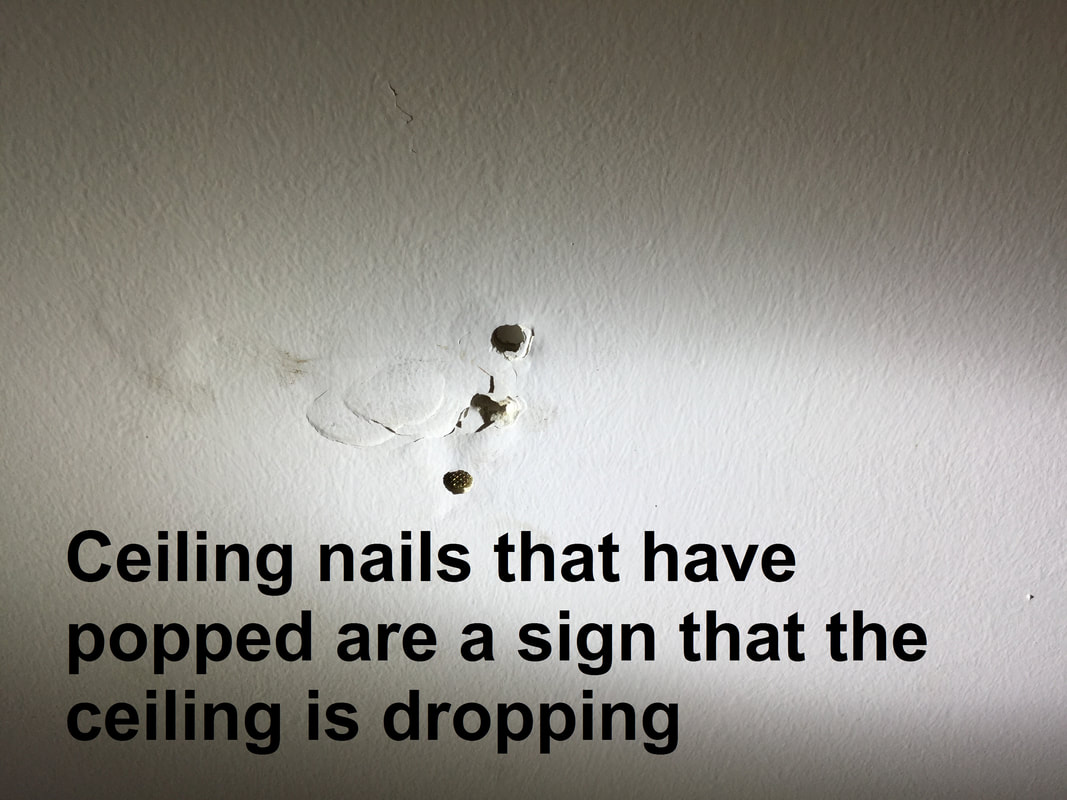
Gaps to the gyprock lining are easy to see above the sliding door, as was the unprofessional flushing that was visible using an ultra-high lumen torch.


 RSS Feed